How to Clean Non Removable Shoe Insoles in 10 Easy Steps
|
Disclosure: Heads up, savvy reader! My name is Tim Schroeder. Your favorite shoe expert. Clicking on our links could lead you to fantastic finds, and it might even make my day a little brighter with a small commission. Win-win! Just so you know, the sneakerheads here at LearnAboutShoes make every effort to test and thoroughly research the products we recommend. Enjoy the article! |
Do you have non-removable shoe insoles that are starting to look a little dingy? Don’t worry, I’m here to help you on How to Clean Non Removable Shoe Insoles!
Non-removable shoe insoles can be a pain to clean, but it’s important to do it regularly to keep your feet healthy and comfortable.
I know what you’re thinking: “But Savannah, my insoles aren’t removable! How am I supposed to clean them?” Don’t worry, I have you covered. With a few simple steps and some household items, you can easily clean your non-removable shoe insoles and make them look and feel their best.
So what are you waiting for? Let’s get started!
Why Should You Clean Non-Removable Shoe Insoles?
Before we jump into the cleaning process, let’s understand why it’s essential to clean your non-removable shoe insoles regularly:
1. It Helps in Odor Control
One of the primary reasons for cleaning your non-removable insoles is to combat unpleasant odors. Over time, sweat and bacteria accumulate in the insoles due to the constant contact with your feet. This creates a breeding ground for microbes, particularly odor-causing bacteria.
Cleaning your insoles effectively removes these bacteria and sweat residues, which, in turn, helps to eliminate foul smells. By doing so, you can enjoy fresher-smelling shoes and feet.
2. Promote Hygiene
Proper hygiene is essential for overall foot health. As I said, unclean insoles can harbor harmful bacteria and fungi that may lead to foot infections or skin issues like athlete’s foot.
Regularly cleaning your insoles reduces the risk of these problems, promoting better foot hygiene and comfort.
3. It Provides Comfort
Clean insoles provide better comfort and support for your feet. When insoles are clogged with dirt and bacteria, they lose their cushioning and shock-absorbing properties. This can lead to discomfort, foot fatigue, and even pain during prolonged use.
Regular cleaning ensures that your insoles continue to offer the support and comfort your feet need.
4. Allergy Prevention
In some cases, mold or mildew can develop in damp insoles, leading to allergies or respiratory issues for those with sensitivities.
Cleaning and drying out the insoles thoroughly can prevent the growth of these allergenic microorganisms.
5. Prolonged Shoe Life
Dirty insoles can accelerate the wear and tear of your shoes. The accumulated sweat, dirt, and bacteria can break down the materials of the insoles and even affect the structural integrity of the footwear.
By cleaning the insoles, you help preserve the condition of your shoes, extending their lifespan and saving you money in the long run.
How to Clean Non Removable Shoe Insoles (Materials You’ll Need)
Before you begin the cleaning process, gather the following materials:
- Mild detergent or soap
- Water
- Soft-bristle brush
- Cloth or sponge
- Towel or paper towels
- Baking soda paste
How to Clean Non Removable Insoles in 10 Steps
Now that you have your materials ready, let’s get started with the cleaning process. Follow these steps on How to Clean Non Removable Shoe Insoles effectively:
Step 1: Prepare the Area
The initial step in effectively cleaning your non removable insoles is to carefully prepare the area where you will be performing the cleaning.
To begin, seek out a well-ventilated space for this task. Adequate ventilation is essential because it allows for proper air circulation, aiding in the drying process of both your insoles and shoes after cleaning. This will help prevent any lingering odors or moisture-related issues.
Once you’ve identified a suitable space, take the precautionary measure of laying down a towel or a few sheets of paper towels.
This simple act serves a dual purpose.
Firstly, it acts as a protective barrier, safeguarding the underlying surfaces from any potential drips, spills, or cleaning solutions that may inadvertently escape during the cleaning process.
Secondly, it provides a convenient and absorbent surface for any liquid or dirt you remove from the insoles, making cleanup easier and more efficient.
Step 2: Remove the Shoe Insoles (If Possible)
In some cases, you may be able to partially remove the insoles by pulling them up gently from the edges. If you can do this without causing any damage to the shoes, it will make the cleaning process easier.
If the shoe insoles are firmly attached, don’t force them; proceed with cleaning them in place.
Step 3: Brush Loose Dirt Off The Shoes and Insoles
In the third step of cleaning your non-removable insoles, it’s time to address the accumulated dirt, dust, and debris that may have settled on the surface over time.
To tackle this task effectively, you’ll want to enlist the assistance of a soft-bristle brush. This choice of tool is paramount as it ensures that the cleaning process is both thorough and gentle, safeguarding the integrity of your insoles and the lining of your shoes.
Begin by gently but methodically brushing the insoles, paying close attention to every nook and cranny.
The soft bristles serve a dual purpose: they whisk away loose particles, and their gentleness prevents any potential damage to the delicate materials of the insoles and shoe linings.
Take your time with this step, ensuring that you’ve diligently removed all visible dirt and debris.
Step 4: Mix a Cleaning Solution
Now that you’ve successfully prepped your insoles and removed loose dirt and debris, the next critical step involves preparing a suitable cleaning solution to effectively tackle any remaining grime and stains. This solution will help restore your insoles to a clean and fresh state.
To start, get a bowl or container that is clean and suitable for mixing the cleaning solution.
In this bowl, combine a mild detergent or soap with water. It’s crucial to exercise caution and use only a small amount of detergent to prevent excessive suds, which can complicate the cleaning process. A little goes a long way when it comes to cleaning solutions.
Once you’ve added the detergent to the water, take a moment to stir the mixture until it’s well combined thoroughly. This ensures that the detergent is evenly distributed throughout the solution, allowing it to be more effective in breaking down stains and lifting dirt from the insoles.
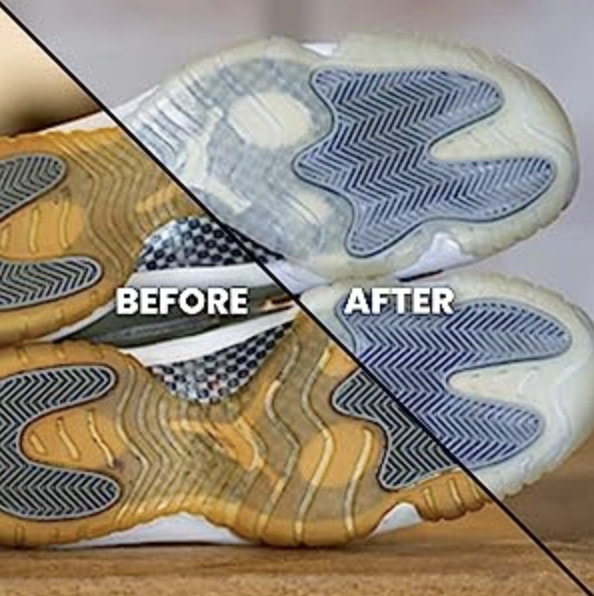
If you need to clean your soles, and not just the shoe insoles, reviewers like the Angelus Sole Sneaker Sole Restorer. See this before and after picture using this sole cleaner:
Choosing a mild detergent or soap is important to prevent any potential damage to the materials of the insoles. Harsh chemicals can degrade or discolor the insoles, so it’s best to stick with gentle, non-abrasive options.
This thoughtfully crafted cleaning solution is an essential component of the insole cleaning process, and its proper mixing sets the stage for the subsequent cleaning steps to achieve optimal results.
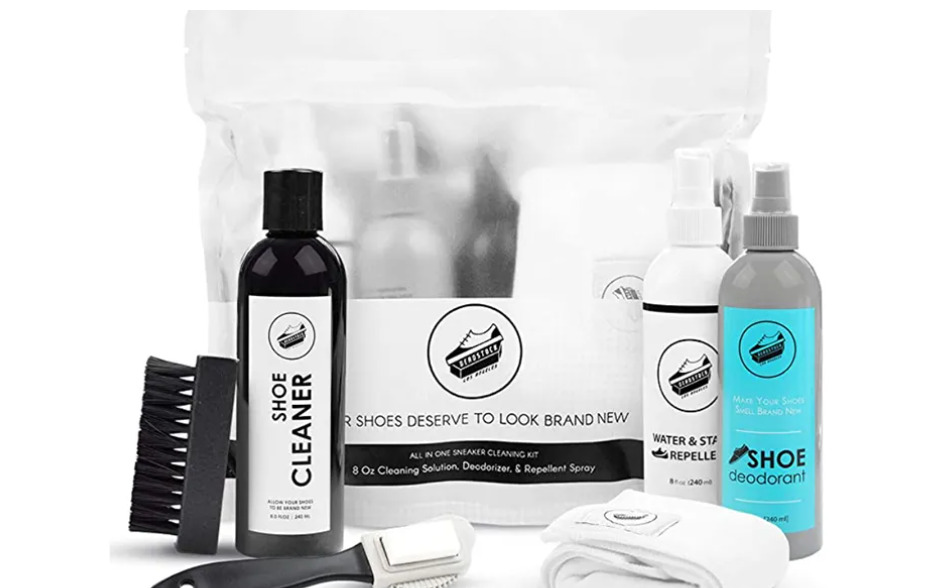
For tougher, non-removable shoe insole stains and odors, I spray my insoles with Sof Sole’s shoe cleaning foam and then use an old toothbrush.
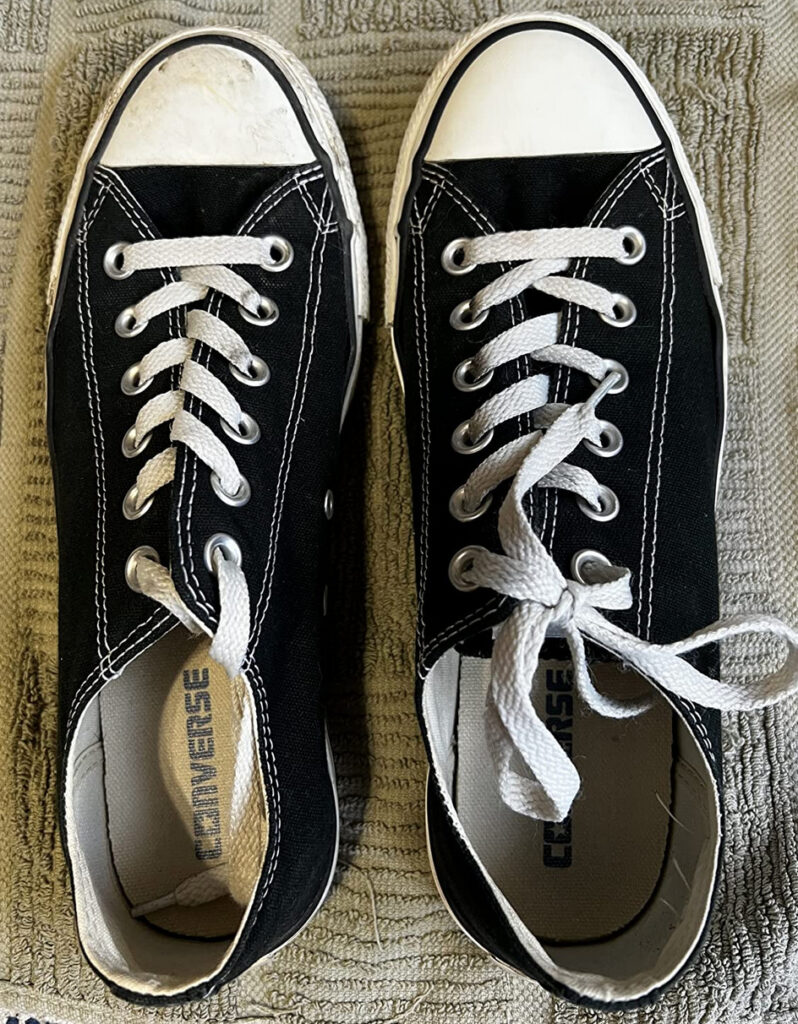
Look at the difference a good shoe and insole cleaning can do:
Step 5: Clean the Non Removable Insoles
With your carefully mixed cleaning solution ready, it’s time to embark on the crucial step of cleaning the insoles. This step is where you’ll work to remove stains, grime, and any lingering odors, restoring your insoles to a fresher, more hygienic condition.
Begin by dampening a clean cloth or sponge with the prepared cleaning solution. The cloth or sponge should be moist but not soaking wet.
Excess moisture can damage the insoles or take an unnecessarily long time to dry. Once you have the right level of dampness, gently but purposefully scrub the surface of the insoles. I just use an old toothbrush.
As you clean, pay particular attention to areas that may have visible stains or emit unpleasant odors. These areas require a more focused effort to ensure thorough cleaning.
While it’s important to be diligent in removing stains and odors, it’s equally important to exercise caution and avoid using excessive force or aggressive scrubbing. Insoles can be made from delicate materials, and undue pressure or scrubbing can harm them.
Instead, employ a gentle yet consistent cleaning motion, allowing the cleaning solution to do the work. This measured approach will effectively break down and lift away dirt and stains without compromising the integrity of your insoles.
Step 6: Rinse The Insoles As Thoroughly As Possible
After carefully cleaning your insoles, it’s important to proceed to the rinsing stage to eliminate any lingering soap residue and ensure that your insoles are left clean and free from any potentially irritating or harmful detergent remnants.
To rinse, start by getting a source of clean water, either in a bowl, under a running faucet, or by dampening a clean cloth or sponge with water.
The key here is to use clean, clear water without any detergent or cleaning solution. This is crucial because any remaining soap residue can be uncomfortable for your feet and potentially damage the insoles or the lining of your shoes over time.
Next, gently rinse the insoles, making sure to remove all traces of detergent thoroughly. You can do this by wiping them with a damp cloth or sponge or holding them under a gentle stream of running water.
Take your time during this step to ensure that you’ve effectively rinsed away all remnants of the cleaning solution.
Step 7: Dry The Shoes and Insoles Properly
Once you’ve completed the cleaning and rinsing process for your insoles, the next critical step is to ensure they dry thoroughly and correctly.
Proper drying is essential not only for the comfort of your shoes but also to prevent the growth of mold or mildew, which can be damaging and potentially harmful to both your footwear and your feet.
Place your shoes in a well-ventilated area. Adequate ventilation is key to facilitating the drying process, as it allows moisture to evaporate efficiently. Choose a spot where there’s good airflow, such as near an open window or on a breathable surface.
It’s important to emphasize that letting your shoes air dry naturally is the best approach.
The patience required for air drying is well worth the wait, as it helps maintain the shape and integrity of your shoes and insoles. Depending on the humidity level and the material of your insoles, drying times may vary, but it’s crucial to allow them to dry completely before using your shoes.
Step 8: Optional Shoe and Insole Odor Control
If your insoles still have lingering odors after cleaning, you can use a few tricks to help eliminate them:
- Sprinkle baking soda inside the shoes and let it sit overnight. Shake out the excess baking soda the next day.
- Insert cedar shoe inserts or odor-absorbing insoles to help control odor over time.
- Consider using specialized shoe deodorizers or sprays designed to eliminate odors.
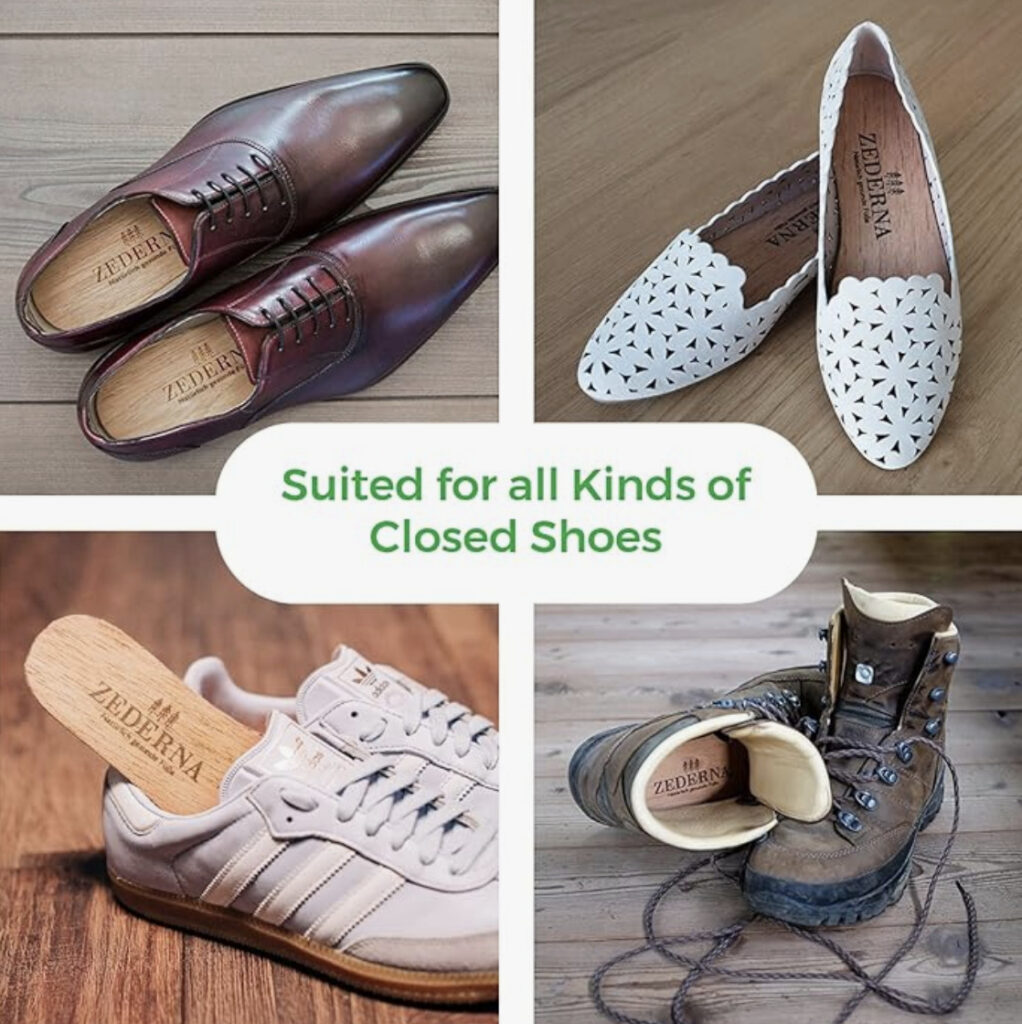
Let me share with you my incredible experience with the Cedar Wood Shoe Insoles. As someone who’s always struggled with sweaty feet and the persistent problem of smelly shoes, discovering these insoles was a game-changer for me.
These insoles are a true savior for my feet and shoes. Made from a unique blend of cedar wood and cotton, they do an outstanding job of absorbing excess foot sweat, ensuring that my feet stay comfortably dry, whether I choose to wear them with socks or go barefoot.
What’s fantastic is that these insoles go beyond just keeping my feet comfortable; they also work their magic on my shoes. The cedar wood essential oils infused into the insoles release a delightful, natural fragrance that not only masks but actively prevents smelly feet.
It’s like having a built-in foot deodorant that works wonders. Plus, it’s a refreshing departure from chemical-laden shoe sprays or powders.
They are a little pricey but they are very effective. Here’s a picture of the Zederna Cedar Wood Shoe Insoles for men & women…
Step 9: Reassemble the Shoes
If you partially removed the insoles in Step 2, carefully reattach them to their original position once they are completely dry. Make sure they are secure and fit snugly.
Step 10: Regular Maintenance
To keep your insoles clean and fresh, it’s a good idea to make regular cleaning a part of your shoe care routine. Cleaning them every few weeks or as needed can help prevent the buildup of dirt and odors.
After cleaning my non-removable shoe insoles, I sometimes use this Crep Protect Spray on the whole shoe and on the insoles.
This spray forms an invisible layer that repels water, stains, and dirt, so my shoes and insoles stay fresh and clean. It works on various materials and one application lasts a long time, making it super convenient.
Cleaning Non Removable Shoe Insoles (Tips & Precautions)
As you embark on your journey and learn How to Clean Non Removable Shoe Insoles, here are some additional tips and precautions to keep in mind:
First, if your shoes have don’t have removable insoles, don’t try this:
All kidding aside, here are some helpful tips and precautions when cleaning non removable shoe insoles:
- Avoid Harsh Chemicals: Stick to mild detergents or soaps when cleaning your insoles. Harsh chemicals can damage the materials and cause irritation to your feet.
- Test in an Inconspicuous Area: If you’re unsure about how the cleaning solution will affect the color or material of your insoles, test it on a small, inconspicuous area first.
- Don’t Soak the Shoes: Avoid submerging your shoes in water or soaking the insoles excessively, as this can damage the shoe’s structure.
- Use a Soft Brush: Always use a soft-bristle brush to avoid scratching or damaging the insoles.
- Dry The Shoes and Insoles Completely: Ensure that your shoes and insoles are completely dry before wearing them again to prevent discomfort and potential mold growth.
- Rotate Shoes: If you have multiple pairs of shoes, rotating them can help prevent excessive wear and odor buildup in any one pair.
Consider Insole Replacements: If your insoles are beyond cleaning or have lost their cushioning, consider replacing them with new insoles for added comfort.
Here is the list of best insole replacements based on shoe brands:
- Best Insoles for Dress Shoes
- Best Merrell Replacement Insoles
- Best Puma Insoles Replacements
- Best Timberland Insoles Replacement
- Best Vans Replacement Insoles
- Best Jordan Replacement Insoles
- Best Skechers Replacement Insoles
- Best Insoles For Plantar Fasciitis
I’ll be adding more specific shoe brand insole reviews soon. I recommend buying replacement insoles on Amazon because of their easy returns.
How to Clean Non Removable Shoe Insoles: My Final Thought
Cleaning non-removable shoe insoles may seem like a daunting task, but with the right materials and a little patience, you can easily maintain the freshness and comfort of your favorite footwear.
Regular cleaning not only eliminates odors and bacteria but also prolongs the life of your shoes. So, don’t forget to add this essential step to your shoe care routine, and your feet will thank you for it.
With these simple steps on How to Clean Non Removable Shoe Insoles, you can ensure that your shoes continue to provide you with the support and comfort you need, no matter where your feet take you.